Last Updated on April 8, 2025 by ReTurf
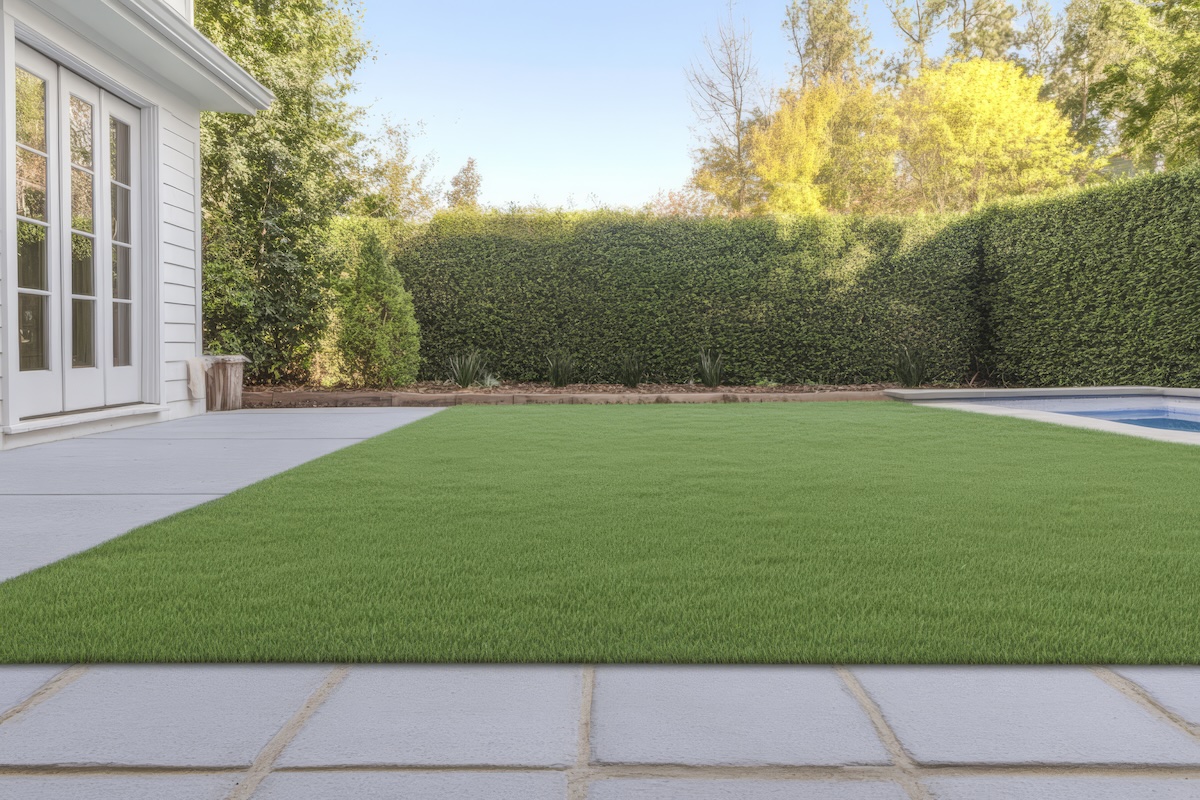
When artificial grass starts feeling soft underfoot or you notice slight dips forming across the surface, the real issue is usually hidden below. It’s not the turf itself that fails—it’s what’s happening in the layers underneath.
Improper base preparation, inadequate drainage, or placing heavy objects on the turf for long periods can all lead to settling, soggy patches, or in more extreme cases, sinking spots forming over time.
Fortunately, these problems aren’t a roll of the dice. They’re predictable and 100% preventable with a professional install. When the base is properly prepared, new artificial turf should stay level, well-drained, and low-maintenance for years. That’s why attention to the foundation—grading, compaction, and drainage—is so important for avoiding uneven spots developing later on.
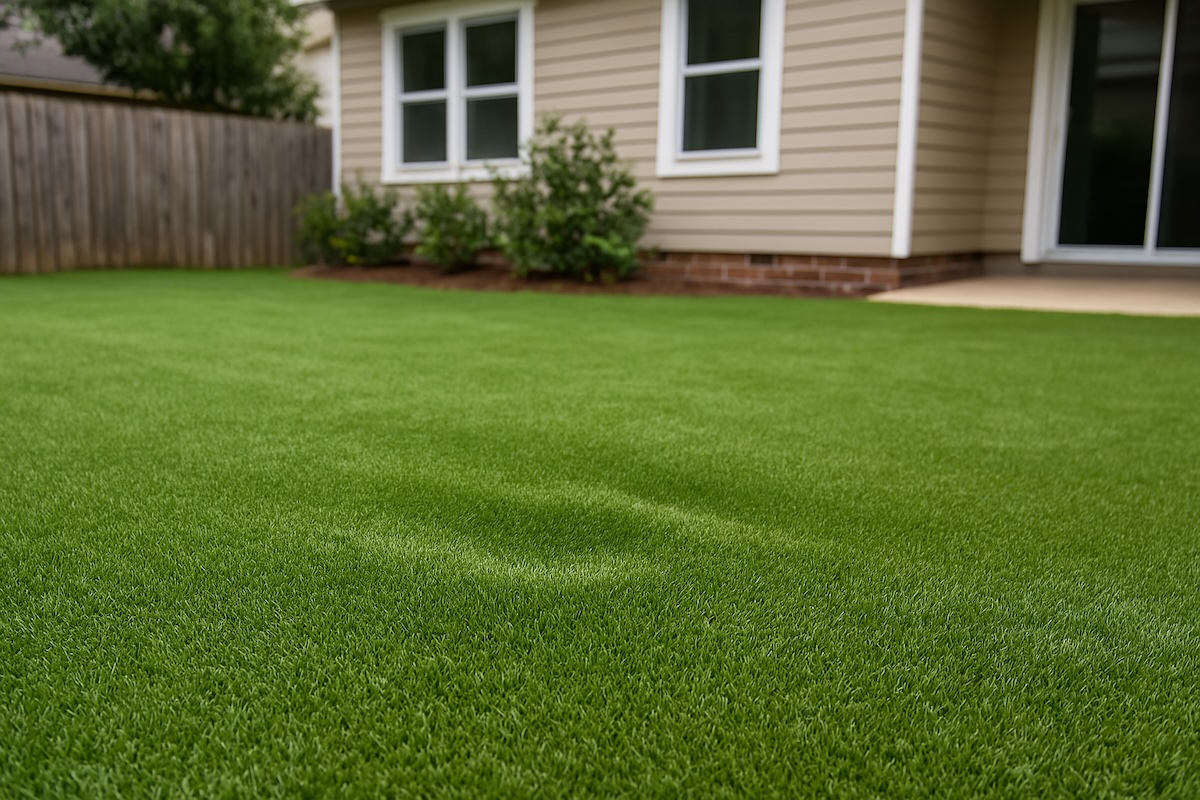
A clean, professional artificial turf installation doesn’t need to be complicated, but skipping the basics can lead to problems that take more time and cost more money to fix down the line. So today, we’re going to take a look at what actually causes turf to sink and what you can do (or make sure your installer does) to avoid the most common pitfalls.
Again, these problems are completely avoidable—if the turf is installed the right way from the start. Here’s how to do that:
1. Start With a Solid Base
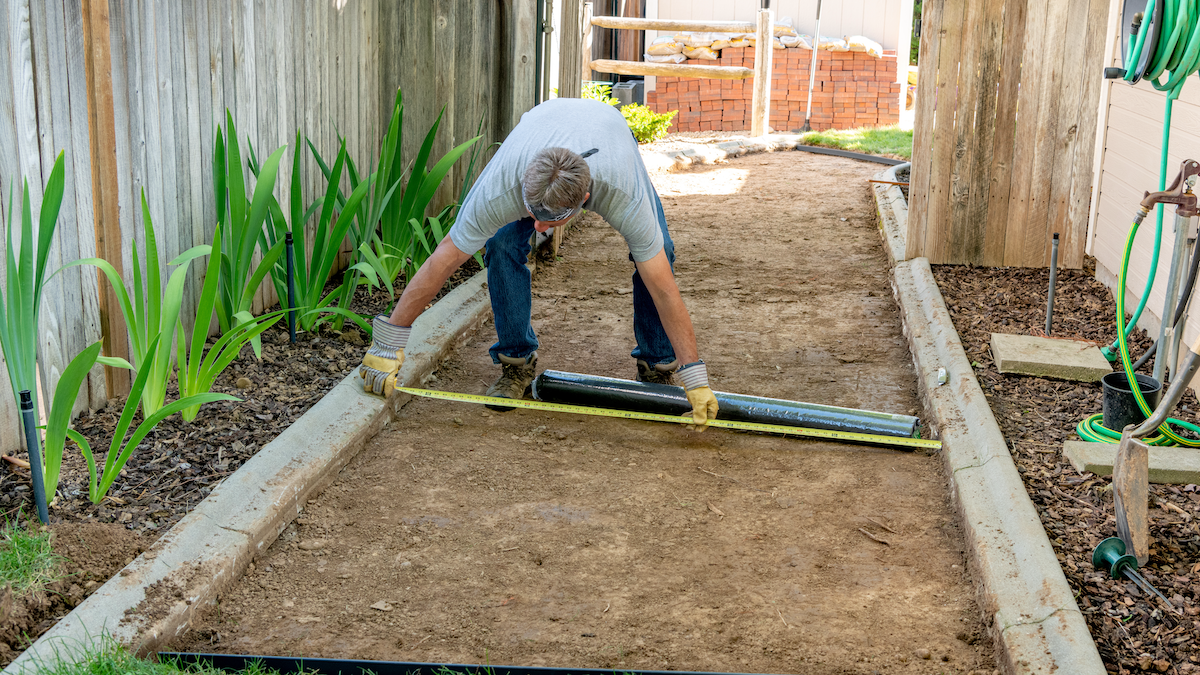
The single most important part of a successful artificial grass install isn’t the turf—it’s the base underneath it. If that foundation isn’t solid, no amount of brushing, infill, or careful turf laying will save you from soft spots later on.
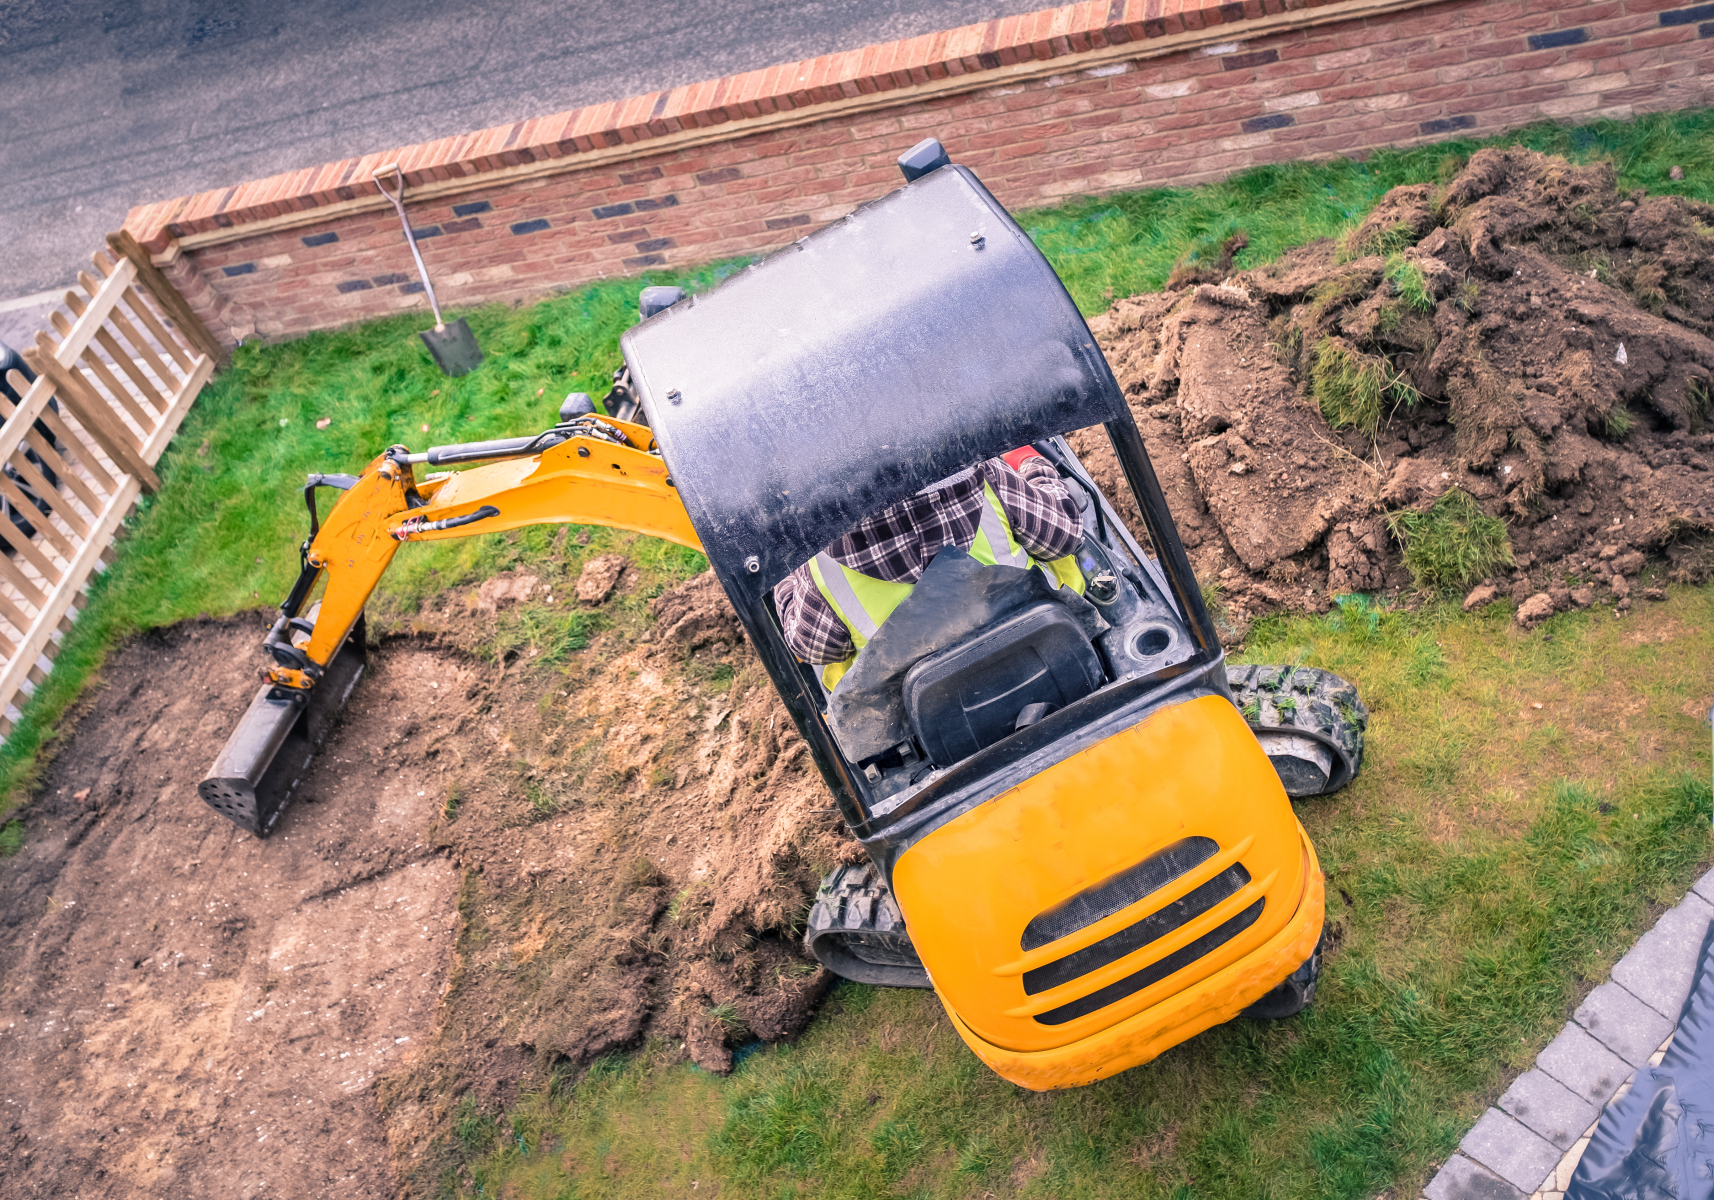
Start by fully excavating the area. That means removing all topsoil, grass, weeds, roots, and debris until you’re down to a stable subgrade—typically 3 to 4 inches deep, though that can vary based on your soil and what part of the country you live in.
Too many installs go wrong because people try to shortcut this step, leaving behind old grass or compacted soil and hoping the turf will “smooth over” the problem. It won’t.
Next, build your base using a mix like crushed stone, Class II road base, or decomposed granite. Avoid materials like sand or pea gravel—they don’t compact well and can lead to shifting over time. Lay the base in thin lifts—2 inches at a time max—and compact each layer thoroughly with a plate compactor. Don’t just eyeball it; walk the area, stomp around. If anything feels soft, compact again.
Why this is important: Even if your turf looks flawless on day one, a poorly compacted base will eventually betray you. Water seeps in, the ground settles, and before you know it, you’ve got bubbles, sunken spots, or areas that squish underfoot like a sponge.
Pro tip: Always lay down a geotextile fabric (a.k.a. weed barrier) beneath the base layer. It’s not just for helping keep the weeds out—it helps prevent base materials from mixing with the soil below, which can cause long-term instability.
Also—and this may sound obvious—take your time. It’s a lot harder to repair sunken turf than to just do the base right the first time.
2. Plan for Proper Drainage
Artificial turf doesn’t absorb water like living, organic grass. That’s because unlike natural grass, there are no roots pulling moisture down into the soil. And that means all the drainage has to happen underneath the turf—through your base layer and into the subgrade.

If water can’t move efficiently, it sits. And when it sits, it softens your base, shifts the subsoil, and eventually leads to sunken spots or worse.
This is one of those areas where “good enough” isn’t good enough. Turf might look perfect right after install, but if the installer didn’t account for proper drainage, the first heavy rain will start the clock on problems showing up.
Here’s how to get it right:
- Grade the area with a subtle slope. You don’t need a dramatic incline—just a 1–2% slope (roughly 1 to 2 feet of drop over 100 feet) is enough to encourage runoff. The slope should be built into the base layer, not just the surface turf. Occasional puddling after a storm isn’t a big deal, but if water regularly lingers in the same spot or takes days to drain, it’s a sign the base may need adjustment or improved drainage.
- Add French drains or gravel trenches in trouble zones.If you already know your yard has trouble spots where water tends to collect, don’t count on artificial turf alone to fix that—turf doesn’t improve drainage on its own. In those cases, it’s worth considering a gravel trench or a basic French drain (a perforated pipe wrapped in fabric and buried in gravel) to redirect water away from the area before you install the base. You don’t need a full drainage system for a lot of yards, but in areas where water sits for long periods or the soil drains poorly, this can make a big difference in how the turf performs over time.
- Watch for clay. If your native soil is heavy clay, water won’t drain easily, and your base could stay soggy no matter how well you compact it. In those cases, you either need to excavate deeper and replace more subsoil with crushed stone—or install an active drainage system underneath.Standing water = sinking turf. There’s no way around that. If water doesn’t leave the base, the structural integrity of your install will fail over time.
Even with a well-compacted base, drainage is still extremely important. If water can’t move through or away from the turf area, it will eventually start softening the layers below—especially after repeated rain or freeze-thaw cycles.
It doesn’t take a complicated drainage system to prevent this, but making sure water has a place to go is one of the small details that sets a professional artificial turf installation apart. Whether it’s a gentle slope, a gravel trench, or just avoiding low-lying problem spots, good drainage planning pays off long-term.
3. Use Professional Turf Installation Techniques
You can prep the perfect base and dial in your drainage—but if the turf install itself is rushed or sloppy, you can still end up with uneven surfaces, visible seams, or soft spots that develop over time.

Artificial grass installation is part art, part engineering. The goal is to create a stretched, uniform surface that’s firmly anchored, drains correctly, and holds up to daily use. Here are some of the key things that can make a difference here during installation:
- Stretch the turf evenly. Turf has a natural grain, like carpet, and it needs to be rolled out and stretched tight across the surface—especially in warm weather when the material is more flexible. If it’s too loose, you’ll end up with wrinkles or air pockets that create soft zones. These might not show up right away, but once the infill shifts or someone walks across it repeatedly, they will.
- Secure the seams the right way. This is where rushed DIY installations can often fall short. Seams between turf rolls should be cut cleanly (ideally with a sharp turf knife), joined flush without overlap or gaps, and bonded with high-quality seam tape and turf glue. Avoidable mistakes like using cheap tape or bad seaming leads to gaps that open over time, especially in high-traffic areas. And once a seam starts to separate, it’s not a quick fix—you usually have to cut, rejoin, and re-weight the whole section.
- Anchor the edges firmly. Perimeter areas are especially prone to movement if they’re not pinned down properly. Use landscape nails or turf staples every few inches—closer around curves or corners—to keep the turf edge from pulling up. If you’re working around concrete, paver borders, or curbing, a combination of nails and outdoor adhesive is often the best bet.
- Distribute infill evenly and thoroughly. Infill helps weigh down the turf, supports the blades to keep them upright, and protects the backing from UV damage. Uneven infill can lead to matting, depressions, and poor drainage. After spreading it (typically silica sand or rubber crumb), use a power broom or stiff push broom to work it into the fibers. Then go back and do it again. It’s tedious, but worth it.
A stretched, tight turf surface over a properly compacted base behaves like a well-made road: smooth, stable, and low-maintenance for years.
This is one of those moments where experience really shows. A good installer knows how turf reacts in different temperatures, how to avoid tension lines at seams, and when to pause and recheck level or tightness before moving on. It’s not rocket science—but it is something you get better at with the more experience you have installing turf.
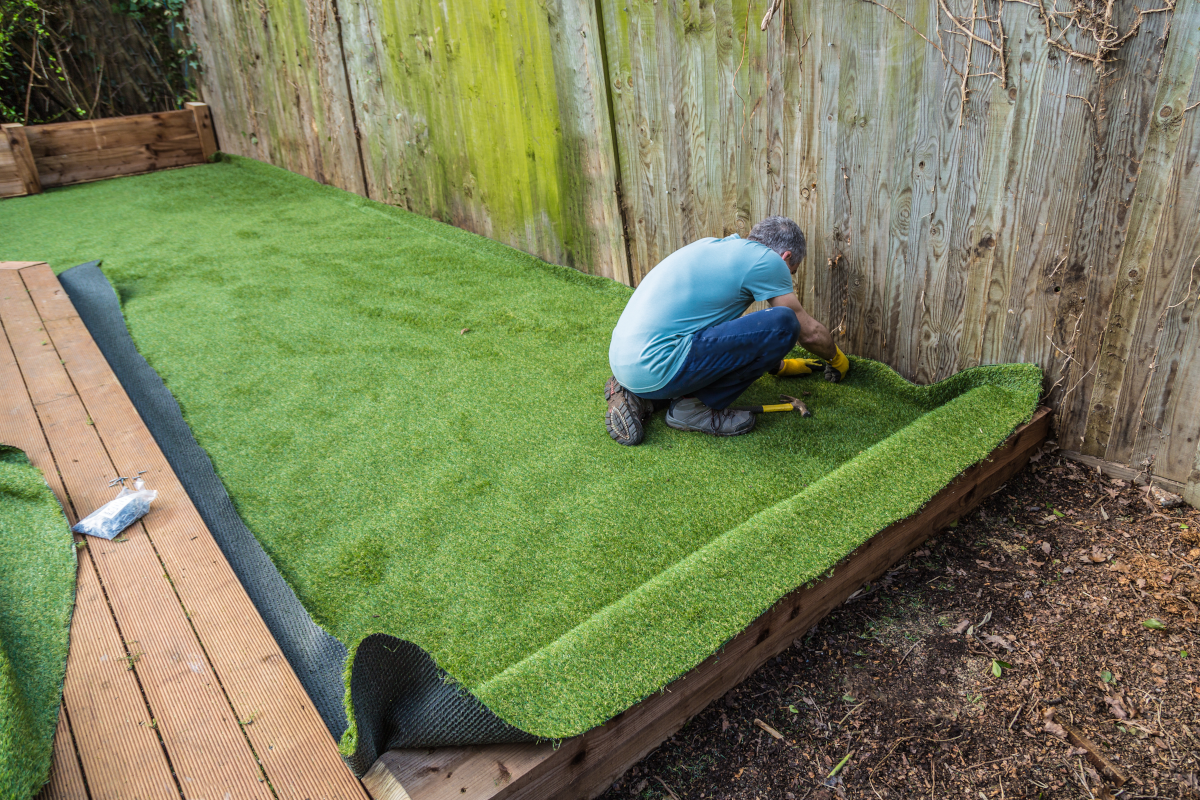
If you’ve ever seen synthetic grass that looks “okay,” but feels “too bouncy” when you walk on it, that’s a telltale sign of shortcuts during install. The base might be fine—but if the turf isn’t properly stretched, secured, and infilled, it won’t last.
4. Maintain It Occasionally
Artificial grass is low maintenance enough compared to natural grass that it’s often considered more or less “maintenance-free,” but that’s not 100% accurate. While you won’t be mowing or fertilizing, you do need to check in on it every so often to keep the surface level, firm, and looking its best. Neglect it entirely, and even the best install will start to look tired—and feel uneven—faster than it should.

The biggest maintenance issue? Debris. Leaves, twigs, pollen, and even pet hair can break down over time and settle into the infill layer. When that happens, they create a damp, organic layer that can throw off drainage and make the turf feel softer or spongy in certain spots.
Here’s what to do to keep things dialed in:
- Brush the turf regularly. Use a stiff-bristle push broom to lift the blades and redistribute infill. Brushing helps keep the surface springy underfoot, prevents flattening, and smooths out any minor impressions from foot traffic or furniture. If your turf starts to look matted or “tired,” brushing often makes a dramatic difference.
- Rake up organic debris before it gets embedded. A plastic leaf rake works well for this—just avoid metal tines that can tear the turf backing. If debris is left too long, especially in shady or damp areas, it can start to decompose into the infill and encourage mold or moss. And once that starts, you’ll have to do a deeper clean.
- Top up infill as needed. Over time, infill can migrate due to rain, wind, or high use—especially around entryways, sports zones, or places where kids and pets play. If you notice areas where the turf feels “low” or looks flattened, check the infill depth. You can usually just add more silica sand or rubber crumb and brush it in thoroughly to restore structure and drainage.
Don’t worry, a few minutes every couple of months with a broom or rake can be more than enough to extend the life of your turf and keep it performing like it did on day one.
5. Be Smart With Heavy Loads
Artificial grass holds up well under regular use. It’s made to handle foot traffic, kids playing, outdoor furniture, and the occasional backyard gathering. You don’t need to treat it like it’s fragile. That said, some care is worth taking when it comes to long-term or heavy weight in one spot.
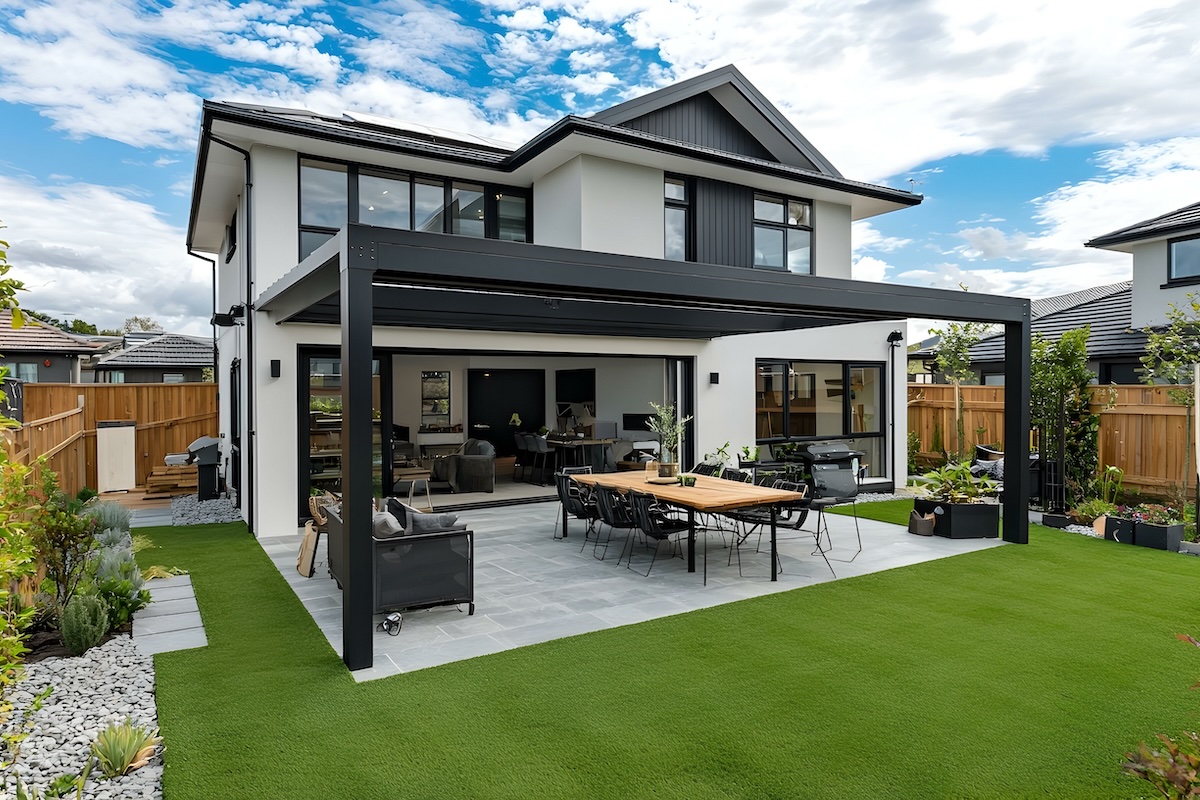
Objects like large planters, grills, storage bins, or playground equipment can leave visible impressions over time, especially if they have narrow feet or sit in place for weeks without being moved.
That said, in most cases, these are cosmetic—flattened blades or slightly compacted infill—not deep structural problems.
The turf usually rebounds with a good brushing, and if the area looks low, adding a bit of fresh infill will do the trick. But if your base wasn’t compacted properly or if water is allowed to pool under that area, those spots can feel softer over time or sink slightly.
Here’s how to keep everything looking good with minimal effort:
- Use something to spread out the weight. If you’re placing a heavy item with narrow feet, set it on a paver, mat, or even a piece of plywood. This prevents pressure points that can flatten the turf and compress the infill unevenly.
- Shift things once in a while. If it’s practical, rotating or nudging heavy items by a foot or two every few weeks helps the turf recover naturally. You don’t have to be obsessive—just move things when you’re doing other outdoor cleanup.
- Skip the long-term parking. Turf isn’t meant to support vehicles or trailers unless it was specifically installed for that purpose, with a reinforced base. A lawnmower or small garden cart isn’t an issue. But an F-450 Super Duty? That’s pushing it.
In short: Good quality synthetic grass is much tougher than it looks. So you don’t need to baby it—but a little prevention goes a long way if you want it to stay smooth, upright, and consistent across the whole surface. You might think of it like carpet in a high-traffic room: a few temporary dips and uneven spots are normal, but with just a little bit of attention, well-installed, higher-quality artificial turf can bounce back just fine.
6. Fix Issues Early
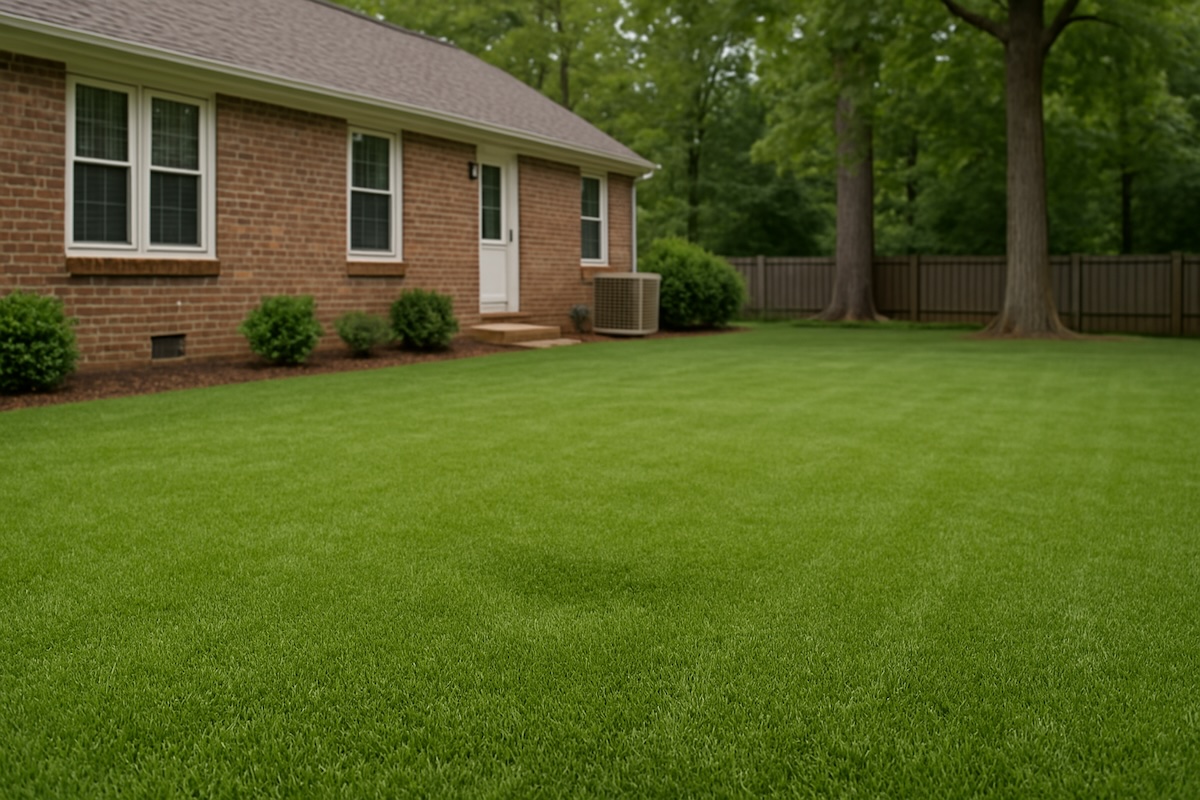
If you notice a soft spot, low area, or any pooling water, it’s best to deal with it sooner rather than later. Minor issues are usually simple to fix—but as with many things in life, if those small issues are left alone, they can lead to more widespread settling or drainage problems.
Most of the time, you can:
- Pull back the turf in the affected area
- Inspect the base for settling, erosion, or excess moisture
- Add and compact fresh base material (like crushed stone or DG)
- Relay the turf and secure it properly*
*Check that the area drains properly before relaying. If the soil underneath feels soggy or loose, it may need deeper correction—especially in clay-heavy or poorly graded yards.
If you’re not sure why it’s happening, it’s worth having a pro take a look—especially if drainage or subgrade erosion is involved.
Bottom Line: Sinking Turf Isn’t Normal—But It’s Fixable

Most sinking and soft spots in artificial grass can be traced back to 3 things: bad base prep, poor drainage, or neglect. But when done right, artificial turf should stay level, stable, and great-looking season after season, with far less upkeep and maintenance costs than a traditional lawn. A little planning up front can pay off big in the long run!
Need help assessing a turf issue, or planning out a DIY or professional install project? Give us a call at (828) 518-5787 or click here to send us an email.

