Last Updated on March 20, 2023 by ReTurf
This is not an all-inclusive artificial turf installation guide. Instead, it is meant to prep you for what the installation entails to help better understand and plan for the process. There is a payoff at the end, but there is also a bit of a journey getting there.
The Primary Phases Of A DIY Artificial Turf Installation
Let’s look at some of the big picture items when it comes to installing artificial turf in an outdoor space.
Planning
This is the most important phase, and it goes beyond basic measurements. Of course, knowing the size of the area you need to cover is going to be step one. While doing this, when it comes time to purchase your turf, always buy a little extra in all directions to help cover any mismeasurement, seaming, or mishaps.
The best step is understanding the natural surface, and its components, in the area the turf will be installed. Is it sandy? Rocky? Full of roots? Prone to flooding? A proper artificial turf installation involves grading and leveling, creating a compacted stone layer, understanding large slopes and grades where water will travel, and drainage systems for your turf. A lot of these decisions will start with the basic question, What are we working with?
Receiving Your Turf
This is the next item a novice to artificial turf installation may look past, whereas a contractor knows all too well – artificial turf offloading at delivery. Most of the time these large rolls of artificial turf are sent through a trucking company. The truck driver themself is not required to, and is not supposed to, help with the offload – this is up to you.
Experienced contractors will have forklifts or Bobcats ready to lift and offload these rolls from the truck. Some turf retailers can also help coordinate this help for you if you ask at purchase and agree to any additional costs.
Other, more creative, methods also exist. Some have hired a flatbed tow truck to show up, back up to the load, winch it onto their flatbed, and then drop at the top of your driveway; for instance.
In the end, it is important to understand these are large heavy rolls, and having a plan in place at delivery is going to be a primary concern.
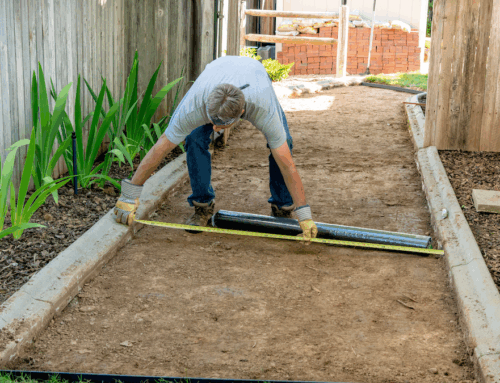
Base & Surface Prep
While the idea may seem simple enough in your head, the actual work of surface prep and base layers is a bit labor-intensive. You may need to grade the area with heavy equipment in large spaces, while smaller spaces can get away with doing this by hand. But even in these smaller projects, you are in for a semi-laborious task.
While doing this, there needs to be an allowance for the final base material. The base material itself is usually made up of ¾” down to ¼” crushed drain rock. This can be 3″, 4″ or more inches deep, this truly depends on your native ground. In naturally fast-draining environments you can get away with the smaller 3″ for instance, but this depth increases as the need for proper drainage increases.
While in this part of the planning phase, it is best to decide if further drainage options need to be utilized. Sometimes a lower drainage channel, such as a “French Drain” can be enough to guide water away from the area. In more damp locations or those where surrounding slopes funnel water to your artificial turf area – actual drainage pipe systems can be utilized.
On top of this layer is a “Crushed Fines” compacting layer. This layer firms, levels, and stabilize your drainage rock base.
With these measurements in mind, there is an overall goal of still having this be about an inch lower than the final desired grade height. This is because artificial turf itself will fill this gap, and when it is done correctly, it will seamlessly integrate with the surrounding ground levels.

Installation
The actual installation process encompasses a few important considerations and methods. Artificial turf will need a hold down, or staple, no keep it in place. Sometimes these are large garden nails. While doing this, the artificial turf must be stretched tight while moving along the surface. And then, you most likely will need to seam turf sections together. This involves a specialized adhesive and seaming tape. Both designed specifically for artificial turf.
After all of this, an infill layer is spread over the surface of the artificial turf. This is generally at a rate of 1lb of infill to 1 square foot of artificial turf. This layer does few things. It acts as a ballast to keep the turf in place – protecting from high wind damage for instance. Infill also acts as a shock absorption layer while walking or playing on the turf. Lastly, it also keeps the individual grass fibers standing tall.
Upkeep
While the upkeep of artificial turf is far less than that of a natural grass lawn, there are still some maintenance tasks to keep in mind. This includes removing organic debris (leaves for instance), cleaning after pet waste, hosing it down, light detergent scrubbing, and even snow removal are all parts of artificial turf maintenance.
The Payoff
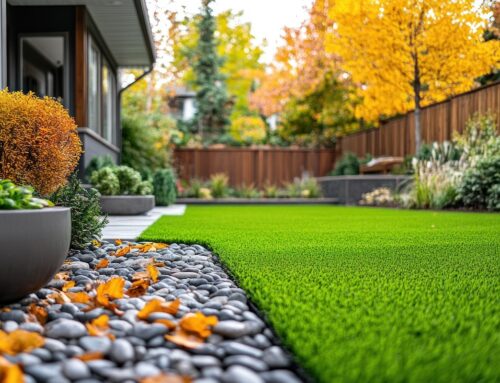
While this seems like a lot of work (and it is, many choose to hire a contractor or a mix of DIY and professional help), the payoff happens near-instantly and lasts for many years to come. No longer are you worried about irrigation, dying grass in drought locations, not having a green lawn at all times, no more fertilizers, no more lawn care teams, and much more.
The best bet, if completely new to all of this, is to speak with one of our professionals who will gladly help you plan and execute your artificial turf installation project.