Last Updated on November 6, 2024 by ReTurf
Installing artificial turf isn’t rocket science, but it’s no walk in the park either. It’s one of those projects that seems easy in concept—roll out some fake grass, tack it down, and call it a day—but the reality is a bit more involved. If you’re considering putting in some turf, whether it’s for a small backyard space, a large lawn, or even a mini sports field, there are some specific steps and real challenges you’ll face. Let’s break it down so you’ll know what’s ahead, and you can decide if it’s a job for a weekend warrior or one best left to the pros.
Understanding the Basics: What Are You Working With?
Before we even get into the nuts and bolts of installation, it’s important to know what artificial turf actually is. We’re not talking about the stiff, obviously plastic stuff from the ‘70s. Today’s artificial turf has come a long way, designed to look and feel like real grass, and it comes in several varieties depending on your needs. You can find turf designed specifically for pets, for kids, for sports, and just for decorative purposes. Each type will have its own specific look and texture, so start by choosing the right turf for your space.

The First Big Task: Preparing the Ground
The toughest part of installing artificial turf, by far, is preparing the ground. You can’t just throw turf down on top of grass or dirt and expect it to look like a lush, green lawn. The ground underneath has to be level, stable, and free of any weeds, rocks, or old grass—otherwise, you’ll end up with a bumpy, uneven surface that can actually damage the turf over time.
Here’s what ground prep involves:
- Remove Existing Grass and Topsoil: Whether you’re ripping out a lawn or removing bare patches, you need to strip it down to the base soil. You’ll probably need a sod cutter, which is a powerful tool that makes this job much easier but requires a little practice to use right.
- Clear Out Rocks, Roots, and Debris: Any kind of solid object under your turf will create lumps and bumps over time, so you have to dig all that out.
- Level the Ground and Compact the Soil: After clearing, you’ll need to level the ground. An uneven surface will look bad right away, and it’ll only get worse as the turf settles. This part requires patience and usually a few tools—like a rake, shovel, and tamper, or ideally, a plate compactor. The compactor helps you get that solid, flat base that turf needs.
The Underlayment: Creating a Solid Base Layer
One key step people often overlook is creating a good base layer. Without it, your artificial turf will shift and develop dips and bumps over time. The usual choice here is crushed rock or gravel, specifically something like decomposed granite. This base material provides the drainage turf needs to prevent water from pooling underneath it and causing mold or bacteria buildup.
Here’s how this part goes:
- Spread the Base Material Evenly: You’ll need to spread this material (usually to a depth of around 2-4 inches) and then level it off. Sounds simple, but it takes more precision than most people expect to get an even spread. You’ll also need to bring back the compactor to compress this layer, which takes several passes.
- Smoothing and Adjusting for Drainage: Good drainage is essential because water needs somewhere to go. Some people install drainage pipes if they’re in a wetter area, or use extra gravel to create a slope, so water doesn’t just sit underneath the turf. Without drainage, rain or even irrigation water can accumulate and cause issues with odor, mold, and even turf lifting.

Laying Out the Turf: Measuring Twice, Cutting Once
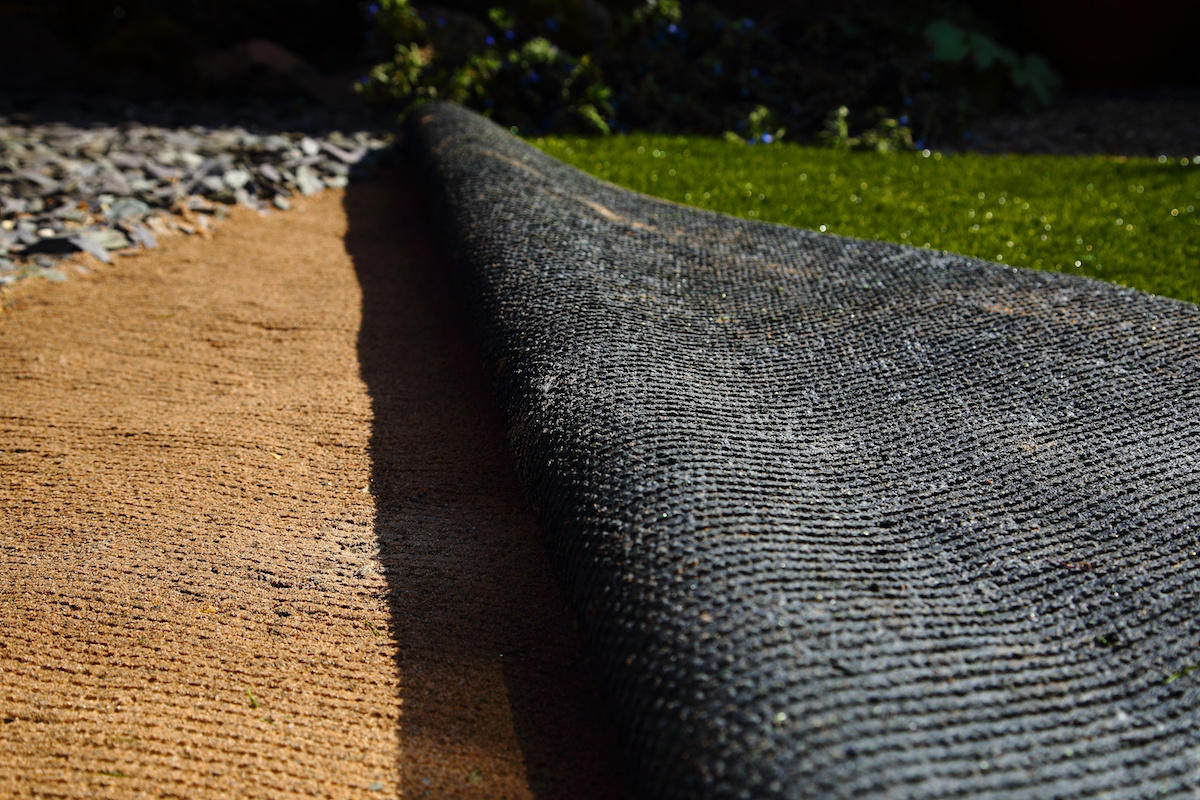
Once the prep is done and you’ve got a solid base, it’s finally time to roll out the turf. Here’s where things can start looking more like a lawn, but don’t get too comfortable yet. You’ll need to plan your layout well because artificial turf typically comes in rolls that you’ll cut and piece together to fit your space. Laying it down without wrinkles or mismatched seams can be a challenge.
- Measure and Plan Your Cuts Carefully: Each piece of turf should overlap slightly at the seams, so you’ll have to make sure you’ve measured your cuts carefully to fit the space without gaps. And once it’s down, moving it is tricky, so you want to get it right the first time.
- Cutting the Turf: A sharp utility knife will usually do the trick, but this is where patience is your friend. Cutting is straightforward but requires attention to detail because uneven cuts are hard to fix once they’re in place.
- Seaming the Pieces Together: This is an important step to make sure your turf looks seamless. Special seaming tape and adhesive are used to bond the pieces, but this part can be finicky. The key is to get the edges as close together as possible without any gaps. Any tiny space will stand out, so precision matters. And once glued, the pieces are tough to separate without damaging the turf.
Securing the Turf: Making It Last
Once the turf is in place and seamed, you need to secure it, usually with landscaping nails or staples around the perimeter and at key points in the center. This helps to keep it from shifting or curling up around the edges. The nails should be about 4-6 inches apart, and you have to drive them in just below the surface of the turf so they’re hidden. This part is tedious and can be surprisingly time-consuming, but it’s critical to keeping the turf stable for the long haul.

Adding Infill: The Final Step for Comfort and Realism
Adding infill is the final touch and helps the turf look more natural, while also providing some cushioning and stability. Most artificial turf installations require some type of infill, like sand or crumb rubber, to weigh the turf down and keep the blades standing up. It also adds a bit of give underfoot, so it feels more like real grass.
Here’s what you do for this part:
- Spread the Infill Evenly: This usually involves walking back and forth over the entire area, spreading it as evenly as possible. You don’t want clumps or bare patches, so taking the time to get an even layer is key.
- Brush the Turf to Work in the Infill: You’ll need a stiff brush or a broom to work the infill down into the turf fibers. This step also helps the blades stand up and look more natural, but it can be hard work depending on the size of the area.
So, Is It a DIY Job or Not?
Here’s the reality: installing artificial turf is definitely doable as a DIY project, but it’s labor-intensive and requires some special tools and materials that may not be part of your average DIY toolkit. Things like the sod cutter, plate compactor, and seaming materials add to the project’s complexity and can make it challenging for beginners. You’ll also need a decent chunk of time, so if you’re aiming for a weekend job, plan carefully—this isn’t something to rush.
For a small space, especially a straightforward shape like a square or rectangle, it might be manageable for someone with DIY experience. For larger or more complex installations, with curves, slopes, or drainage issues, it could be worth bringing in professionals who have the experience to do it efficiently and make it look seamless.
Artificial turf installation is one of those jobs where the devil is truly in the details. Each step needs to be done well for the final result to look good and last a long time. So, if you’re up for a challenging DIY project and you’ve got some tools and patience, go for it. But if you want that perfect, pro-grade finish, getting some help isn’t a bad idea. Either way, you’ll end up with a green, maintenance-free lawn that’ll last for years.


