Last Updated on February 17, 2025 by ReTurf
Artificial turf has come a long way. It’s not the shiny, plastic-looking carpet people used to slap down in the ‘90s. These days, if you pick the right turf and take care of it, most folks won’t even realize it’s not real grass until they’re standing on it in bare feet. But if you want to take it from “that looks nice” to “that has to be real,” there are a few tricks you’ll want to use.
I’ve been in the turf business long enough to see every mistake in the book, and I’ve helped fix plenty of ‘em. Whether you’re putting down turf for the first time or trying to make an existing install look better, here’s how to do it right.
Tips for Making Synthetic Grass Look More Real
Keep It Clean (But Not Overdone)
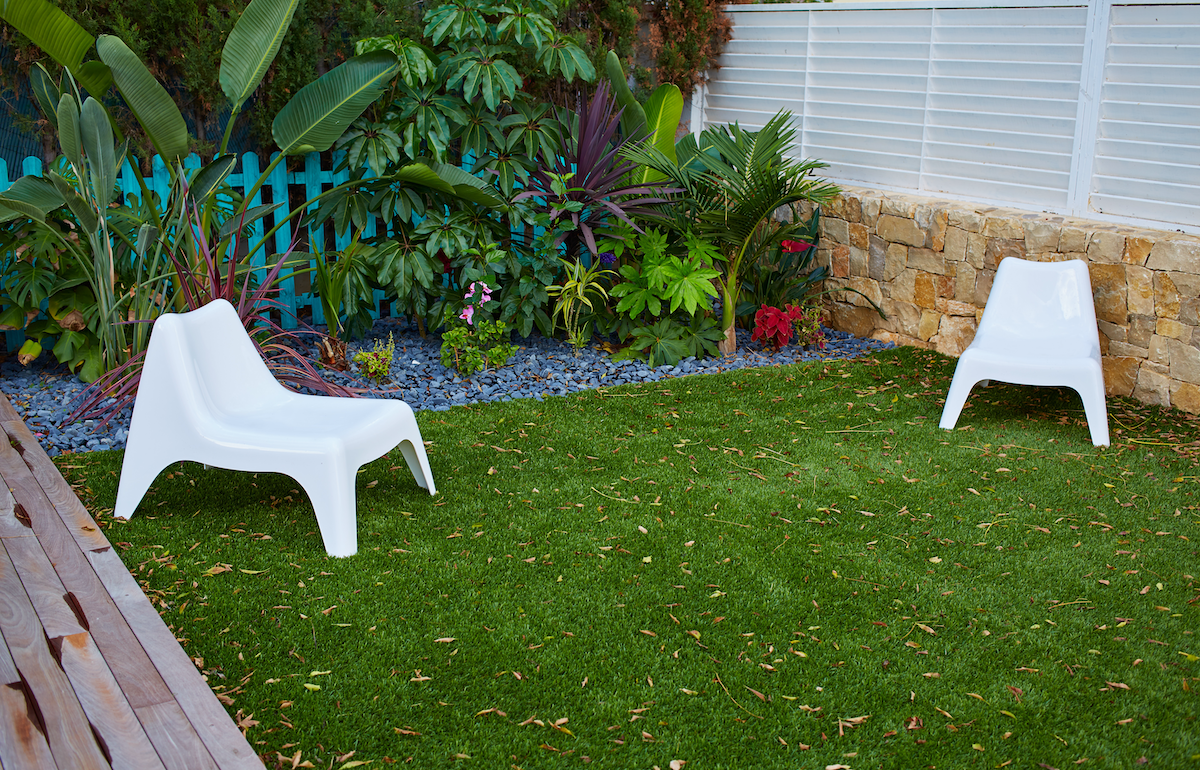
One of the dead giveaways of fake grass is when it looks too perfect. A little bit of natural wear makes it blend in better. That being said, you don’t want it getting too dirty either—so you should still clean and remove stains from artificial turf.
A couple tips:
- Brush it regularly. This keeps it from matting down and looking lifeless.
- Rinse it occasionally. A quick spray with the hose washes off dust, pollen, hard water marks, and anything else that might make it look dull.
Don’t go overboard! If you’re out there hosing down your turf daily, it’s going to look too pristine. A bit of natural weathering actually helps.
Start with Realistic Artificial Turf
Grass isn’t uniform. It doesn’t grow in a perfectly even, upright pattern like the bristles on a toothbrush. If you look closely, some blades grow taller than others, some bend slightly, and others curl or twist at the ends. That’s part of what makes real grass look natural—it’s slightly imperfect.
If you want synthetic turf that passes for real grass, you should look for:
- A mix of blade colors. Natural grass isn’t just one shade of green—it has lighter and darker strands mixed in, and even healthy grass sometimes has hints of brown or yellow. High-end artificial turf mimics this.
- Varying blade heights & textures. A good turf product isn’t uniform. Real grass blades grow at slightly different lengths, and premium artificial turf replicates that natural variation.
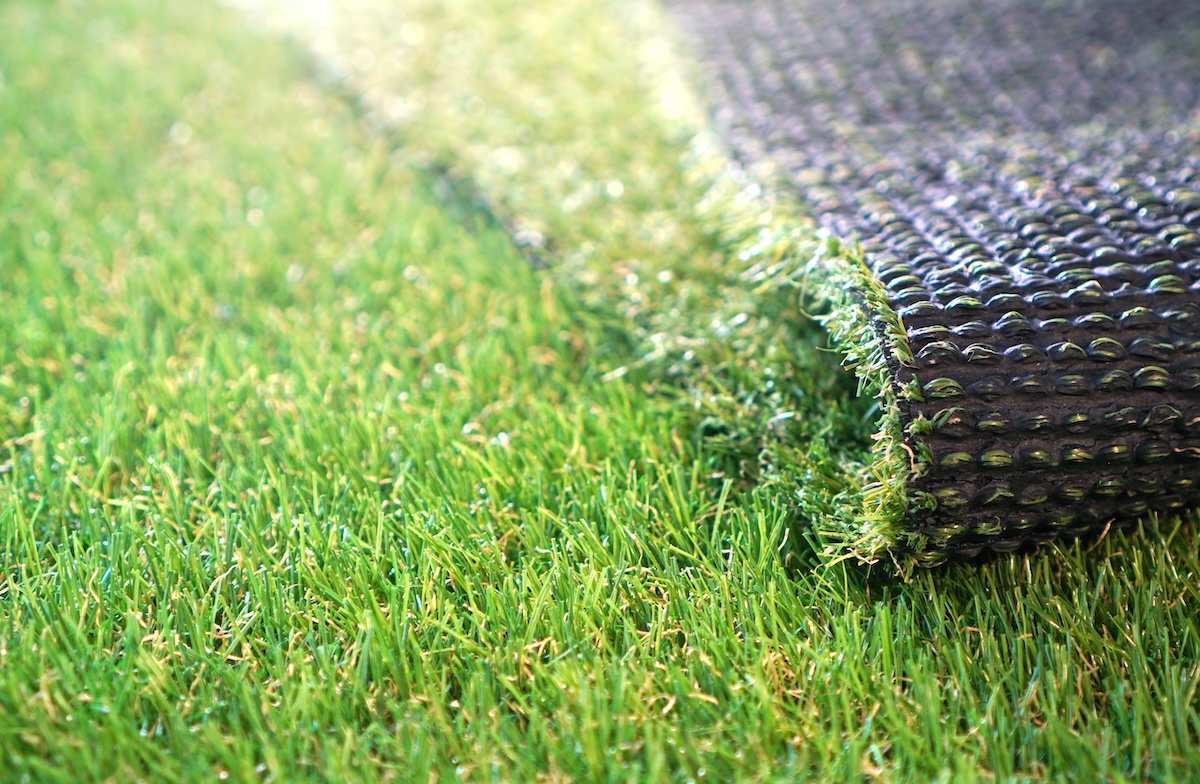
- A thatch layer. This is the little curled-up bits near the base of the turf that mimic dead or dry grass under the healthy blades. It adds depth and realism. Most cheap turf won’t have this at all, but the thatching on higher-quality turf products than it is on more mid-grade options.
If you’re going through the effort of installing artificial grass, you want it to last. So if you are starting fresh, spend a little extra on high-quality, realistic turf. It’s worth it in the long run.
Nail the Installation
You could have the most realistic artificial grass in the world, but if it wasn’t installed properly in the first place, it’s going to give itself away.
A few things to watch for:
- Use a proper base. If the ground underneath isn’t level and well-compacted, your turf is going to have bumps, dips, or weird seams. A solid layer of crushed stone and decomposed granite is the way to go.
- Make sure the seams aren’t obvious. Offset them in a way that mimics the growth patterns of real grass. (See this article for some tips on turf seaming)
- Stretch it tight. Wrinkles and loose spots scream “fake grass.” Make sure the turf is pulled tight and secured properly, especially along the edges.
Add Some Infill (and Pick the Right Kind)
Infill is what helps keep turf blades standing up instead of becoming flattened. It also makes it feel more like real grass underfoot.
If you want a natural look, combining silica sand with something like rubber infill works well. The sand helps with weight and drainage, while the rubber gives the blades some bounce.
Avoid using too much black rubber and not enough sand. Using only crumb rubber, rather than a mixture, can make turf look darker than natural grass.
After laying down infill, you can use a power broom (or a stiff push broom if you’re doing it by hand) to work it into the turf fibers. This keeps the blades standing up straight.
Break Up the Edges
One mistake I see all the time is DIY installers laying turf like a solid carpet with sharp, clean edges. Real grass doesn’t grow that way—it blends into its surroundings. Here’s how to make those transitions look more natural:
- Add some organic landscaping around the edges. Mulch, decorative rock, or flower beds help break up the artificial look.
- Mix in real plants. A few natural bushes, trees, or even a border of real grass can help soften the transition.
- Use curved edges instead of straight lines. Most lawns don’t have perfectly straight edges in nature. A slight curve makes a big difference.
Tip: While you can definitely DIY install artificial turf even if you have no experience, this is just one example of all the reasons it’s worth considering hiring professional installers who have experience with making installations look as natural as possible.
Let It Settle and Wear In
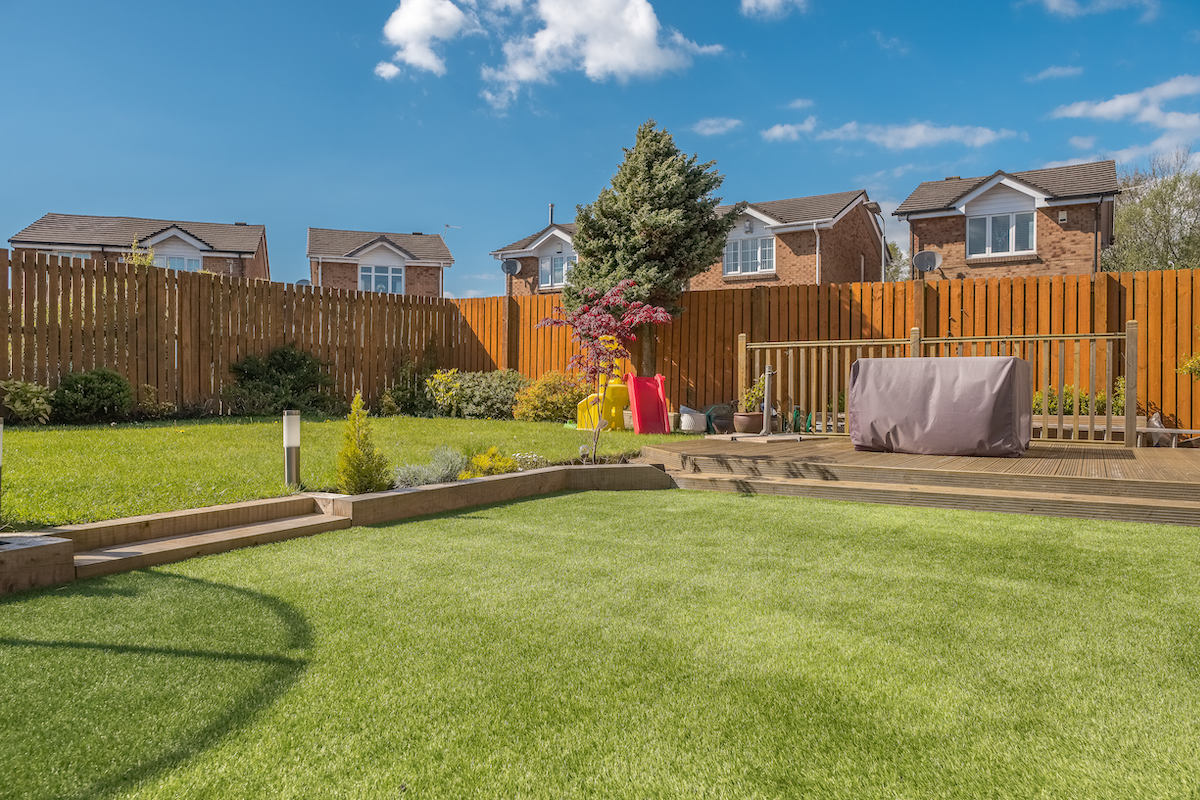
Finally, new artificial turf is always going to look a little too perfect right out of the box. Give it some time. Within a few weeks of normal foot traffic and weather, it’ll start looking more and more natural. Of course, if it still seems too uniform, you can always just go outside and ruffle it up a bit with a turf brush or a leaf blower.
Final Thoughts
Artificial turf has a lot of benefits—low maintenance, no mowing, and a green lawn year-round. But if you want it to look as close to the real thing as possible, you need to choose the right turf, install it properly, add good infill, and let it settle naturally.
Before you know it, your neighbors will be asking how you keep your lawn looking so perfect. Just smile and tell them, “Good old fashioned hard work.” They don’t need to know your secret!

