Last Updated on February 17, 2022 by ReTurf
Artificial turf installations may wind up wrinkled due to a few factors. This can all be solved during initial planning and installation, but it can also be solved after installation if the need arises. However, if it is a post-installation correction- you do have a bit of extra work ahead of you. We will look at both scenarios for the DIY artificial turf installer.
What Causes Artificial Turf To Wrinkle?
There are a few factors that can lead to wrinkles in artificial turf after it is installed. These are best approached during the planning and installation stages, but some of these may occur post-installation.
Poor Quality Turf
Poorly manufactured artificial turf may simply not be up to the task of long-term, actual, use. This is usually a cost-saving decision but can have many ill effects, including wrinkles after installation (even if all proper installation steps are applied). A commercial-grade high-quality turf product may also be out of reach for those on a small budget. In this case, it is best to shop for a quality used artificial turf product that has been recovered from these commercial applications.
Poor Securing
When artificial turf is installed it is secured to the substrate by the use of gardening nails and staples. The complete lack of these will for sure lead to wrinkles, but also not utilizing enough or having them to sparsely placed will also lead to wrinkle issues. The wrong size nail or staple may also lead to wrinkles if they release from the substrate.
Infill Mishaps
Infill is a product spread over the installed turf. It helps the artificial turf blades stay erect and offers shock absorption underfoot. This leads to a more natural-looking and feeling artificial turf area. But one of the main aspects of infill is that it acts like a ballast, or weight, to help keep the artificial turf laying flat and staying in place after installation.
Extreme Heat
Extreme heat or harsh direct UV exposure can lead to wrinkles through a process called thermal expansion. Most high-quality artificial turf products contain UV inhibitors to help alleviate this issue, but if you believe that you are in a truly harsh environment when it comes to heat and UV exposure, it is best to talk with an expert to better understand your options for the area. This is also usually caused by not having enough staples/nails installed.
How To Stretch Artificial Turf During Installation
Professional artificial turf installers will have the methodologies and tools required to properly stretch artificial turf during installation. That said, many performing a DIY installation will benefit from utilizing some of these methods listed below:
Stretching Methods
One up with any of these methods is to lay the artificial turf out over the installation area for a couple of hours to allow the product to “take shape” prior to installation. Just be wary of extreme heat and UV exposure during this process.
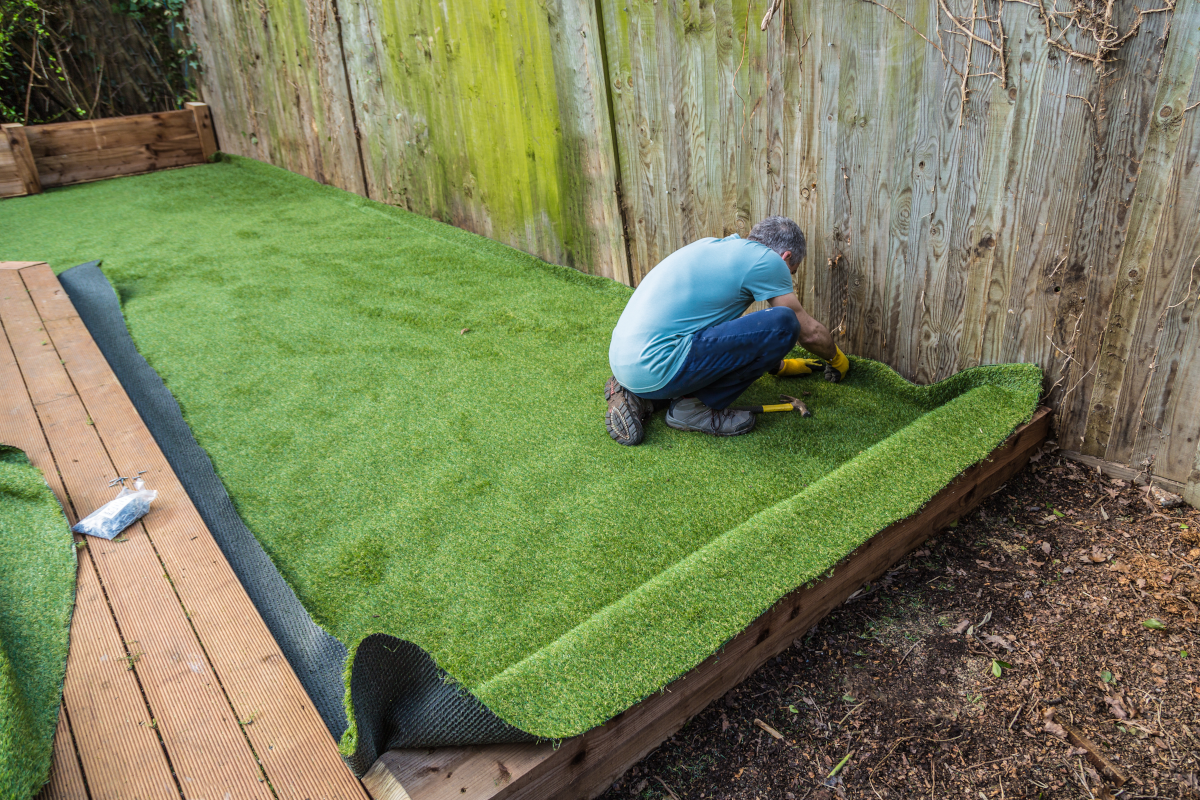
All of these processes start with securing with garden staples one end of the artificial turf before starting the stretching process. Along the perimeter space staples every 3-4″. 12-24″ apart along the center. At seams, space them 1-2 inches apart. If you are also utilizing nails, you can place a garden staple over the nail to reduce the appearance of dimples. Finish by properly laying the infill layer.
1. Use The Roll
If your artificial turf was delivered on a big cardboard core roll, use it! You and a couple of helpers can “steamroll” the surface of the artificial turf while securing it along the way.
2. Carpet Kicker
A carpet kicker is an installation tool utilized by carpet installers. It is also an affordable tool one can utilize to install artificial turf. This is a tool where the operator gets down on all fours and “knees” the tool to kick the portion of turf being stretched into place. Once this part is stretched, a nail or staple is placed to hold it there. This process takes place across the entire surface of the project.
3. Pure Man Power
When all else fails, invite some friends. A row of friends physically pulling on the turf as you staple it across the installation area can work. Just make sure everyone is pulling with all of their might and that you have some food, drinks, and/or beer handy for those helping out!
How To Stretch Artificial Turf After Installation For Wrinkle Correction
This is much harder, and as with all things, it is much easier (and cheaper) to do it right the first time. That said, things happen and you may be able to rescue your artificial turf installation.
You’ll first have to remove all of the infill. For the DIY installer, this may mean literally sucking each section out with a wet-dry vac. This is both time-consuming and necessary.
If the artificial turf has been in place a few months or longer, this will provide the most difficult of rescue attempts. This is because the staples and nails used to secure the turf may have rust bonded to the substrate. In this, there is an increased chance of actually damaging the turf during your wrinkle repair attempt.
Staple and nail removal will be the leading reason that damage may occur. It will take careful pulling with pliers or leveraging a pick of some sort to pull each of these out. Do not simply attempt to pull the turf up forcefully while the staples/nails are still in place – this is guaranteed damage.
As you remove each row of staples or nails you can roll the artificial turf back off the project. You will probably note wrinkles in the backing at this point – this is what you are combating. Rolling the turf back off of the project area lets you verify all of the staples and nails have been removed before your re-stretch attempt. Once you have reached this point, you lay the turf back out over the project area and begin the process described above under “How To Stretch Artificial Turf During Installation”.


