Last Updated on April 21, 2025 by ReTurf
Artificial turf installation is a carefully coordinated process that transforms a patch of land into a clean, low-maintenance surface designed to last for years. This applies to residential yards, commercial properties, and sports fields alike. Knowing what takes place during installation helps you prepare properly and avoid delays or confusion.
This article outlines each major phase of the installation so you’re informed from the crew’s arrival to the final walkthrough.
Site Access and Preparation Check
The installation team will begin by reviewing access to the work area. They may ask to confirm gate widths, vehicle clearance, and where to stage materials. If heavy equipment is needed, they’ll check for potential obstacles such as low tree limbs, fragile fencing, or nearby utilities.
Next, the crew will assess whether the site has been cleared and graded appropriately. If the client was responsible for removing natural grass or debris, the team will verify that these steps have been completed. If this wasn’t prearranged, expect a delay as removal and disposal will need to be added to the job.

Excavation and Base Layer
Once the area is cleared, excavation begins. The crew will remove a specific depth of soil, typically around 3 to 4 inches depending on site conditions and local requirements. This allows room for a stable base material that supports the turf while allowing proper drainage.
After excavation, the installers lay down a compacted base made from crushed rock or decomposed granite. This step is critical for long-term performance. Uneven compaction or poorly selected material can lead to future issues like pooling water, surface sinking, or seam separation.
Once the base is installed and graded to final shape, the team compacts it using plate compactors or vibrating rollers. They’ll likely spray water during this process to bind the material and reduce dust.
Weed Barrier and Final Base Prep
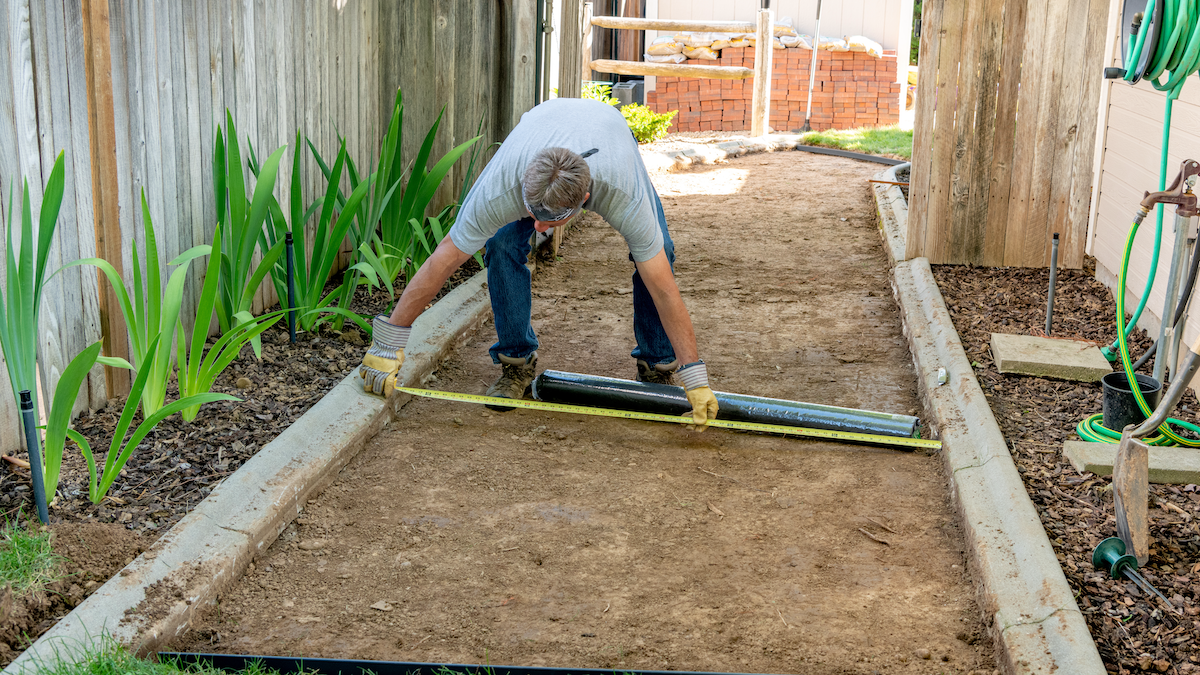
In many installations, a weed barrier fabric is applied over the compacted base. This geotextile material helps prevent weed growth without trapping water. Not every job requires it, but in areas with aggressive vegetation or client preference, it will be included.
At this stage, installers will double-check the base level using string lines or laser levels. Any remaining low spots are filled, and edges are cleaned up to ensure a clean transition where the turf will meet hardscape or border materials.
Turf Layout and Cutting
With the base finalized, rolls of artificial turf are brought into position. Installers will unroll and allow the material to settle. Sun exposure during this time helps relax the backing and eliminate wrinkles or curling at the edges.
The turf is laid out so that all pieces run in the same direction to keep the visual texture consistent. Seams are carefully matched, trimmed, and aligned before adhesive or seam tape is applied.
Edge areas are cut precisely using utility knives to match the perimeter of the space. This includes curves around planters, steps, trees, or hardscape features. Expect this part to take time—it’s where precision matters most for appearance and function.
Securing the Turf and Infill Application
Once the turf is in place and seams are secured, the perimeter is anchored. Nails, staples, or landscape spikes are used to fasten the turf to the base along the edges. In some cases, adhesive is also applied.
After anchoring, infill is spread across the turf surface. Infill adds weight, keeps the turf blades upright, and helps with drainage. Common infill materials include silica sand, rubber granules, or a combination of both, depending on the application.
Installers use power brooms or stiff brushes to work the infill down into the turf fibers evenly. Multiple passes may be made until the surface feels firm and looks uniform.
Final Grooming and Walkthrough
With installation complete, the turf will be groomed once more to remove debris and stand the blades up for a clean finish. The crew will inspect all seams, edges, and transitions to ensure nothing is lifting or unfinished.
At this point, the client is typically invited for a walkthrough. Any questions about maintenance, cleaning, or warranty coverage can be addressed. If requested, the team may provide written care instructions.

How to Prepare Before They Arrive
You can help installation go smoothly by doing the following in advance:
-
Ensure access to water and electrical outlets for compaction and tools.
-
Remove lawn furniture, planters, or other obstacles from the work area.
-
Confirm that pets and children will be kept clear of the installation zone.
-
Communicate special requests like preserving certain trees or garden areas.
If any surprises come up during the prep phase, such as an irrigation pipe or an underground cable, installation may pause until the issue is resolved. Identifying these ahead of time helps avoid delays.
What Happens After the Crew Leaves
Most artificial turf products are ready for light use right after installation. However, it’s a good idea to avoid placing heavy objects or hosting gatherings on the turf for the first 24 to 48 hours, especially in warmer weather when adhesive is still curing.
Light grooming every few weeks helps maintain appearance. Depending on use level, the turf may benefit from occasional infill top-offs or rinsing to remove dust or pet residue.


