Last Updated on August 28, 2024 by ReTurf
Stretching new turf might sound like an unusual task, particularly if you’re more familiar with laying down carpet or installing other flooring materials. However, the principles behind stretching turf—whether it’s for a sports field, golf course, or a home lawn—are surprisingly similar to those used in carpeting. Both require a careful approach to ensure a smooth, wrinkle-free finish that not only looks great but also performs well over time.
When and Why You Would Stretch Turf
Before diving into the specifics of stretching turf, it’s helpful to understand that the concept shares some similarities with carpet stretching. Just as carpet stretching is essential to ensure a smooth, flat surface free of wrinkles or ripples, the same principle applies to turf. However, the reasons for stretching turf are specific to its unique applications.
Stretching turf is crucial to prevent wrinkles, ripples, and bumps, which can result in an uneven surface that not only looks unattractive but can also create safety hazards. For DIYers and professionals alike, stretching turf during installation is necessary to ensure that the surface remains smooth and secure over time.
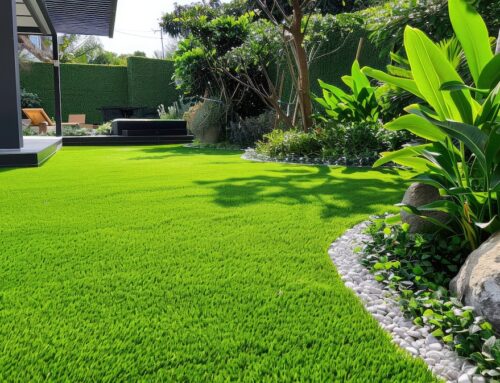
In residential settings, stretching turf might be required for backyards, home gyms, or play areas. Properly stretched turf in these spaces ensures a safe, durable surface that enhances both the look and functionality of the area.
For schools, stretching turf is particularly important in areas like athletic fields, playgrounds, and indoor gymnasiums. Here, consistent surface quality is essential for safety and performance, especially given the heavy use these spaces endure. Properly stretched turf ensures a level playing surface that can handle high traffic and rigorous activity.
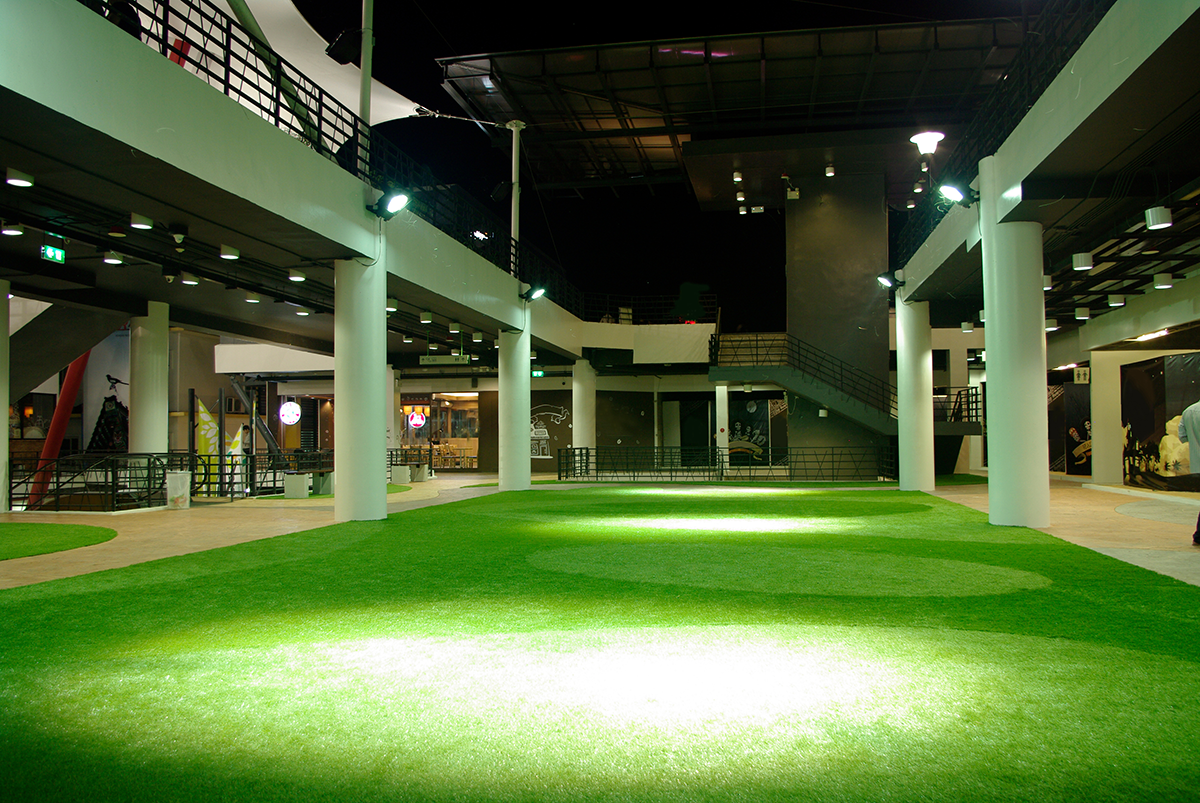
In commercial settings, including fitness centers, weight rooms, and group exercise studios, stretching turf is vital for both aesthetics and safety. A tightly stretched turf reduces the risk of tripping and slipping, ensuring a professional appearance and a secure environment. Other spaces where stretching turf is crucial include dance studios, martial arts dojos, physical therapy clinics, and offices, especially in high-traffic zones where a stable, even surface is necessary.
Whether you’re installing turf in a backyard, school, or commercial facility, stretching is a key step in achieving a professional finish that lasts. Properly stretched turf not only improves the overall appearance but also enhances the safety and longevity of the installation.

Why Stretching New Turf is Important
Stretching new turf is crucial for several reasons. First and foremost, it prevents the formation of wrinkles, bumps, and air pockets, which can lead to an uneven surface. This is particularly important for sports fields where an even surface is essential for safe play, or in residential areas where aesthetics are a priority.
Additionally, stretching helps the turf adhere properly to the substrate, whether it’s soil, sand, or a specially prepared base. Proper adhesion ensures that the turf remains in place, even under heavy foot traffic or during adverse weather conditions. Finally, stretching turf can help prevent the edges from lifting or curling, which can be both unsightly and potentially hazardous.
Tools and Materials You’ll Need
To successfully stretch new turf, having the right tools and materials on hand is crucial. Here’s what you’ll need:
- Artificial Turf: Ensure you have enough turf to cover the entire area, with a little extra for trimming.
- Turf Cutter/Knife: For cutting the turf to the correct size and shape.
- Measuring Tape: To ensure accurate measurements and cuts.
- Stakes and Pins: To secure the turf in place during the stretching process.
- Power Broom or Rake: To help brush the turf fibers and ensure a smooth finish.
- Turf Seam Tape and Adhesive: If your area requires multiple pieces of turf, you’ll need to seam them together.
- Turf Kicker (also known as a Carpet Kicker): This tool helps stretch the turf, similar to how carpet is stretched.
- Roller: A heavy roller helps press the turf down evenly and remove any air pockets.
- Utility Knife: For trimming the excess turf.
- Safety Gear: Gloves and knee pads to protect yourself during the installation.

Preparing the Surface
The first step in the turf stretching process is to prepare the surface, whether you’re working indoors or outdoors. For outdoor installations, begin by excavating the area to a depth of about 2 to 3 inches, removing any existing grass, weeds, or topsoil. This creates space for both the turf and its base layer.
Next, create a solid base using crushed stone or gravel. This layer is essential for proper drainage and stability. Spread the base material evenly, then compact it with a roller or plate compactor to ensure it is firm and level. After the base is set, add a layer of fine sand on top. This layer will help smooth the surface further and make it easier to stretch the turf later. Use a straightedge or a long board to check the surface to ensure it is perfectly level, as any irregularities will show through once the turf is laid.
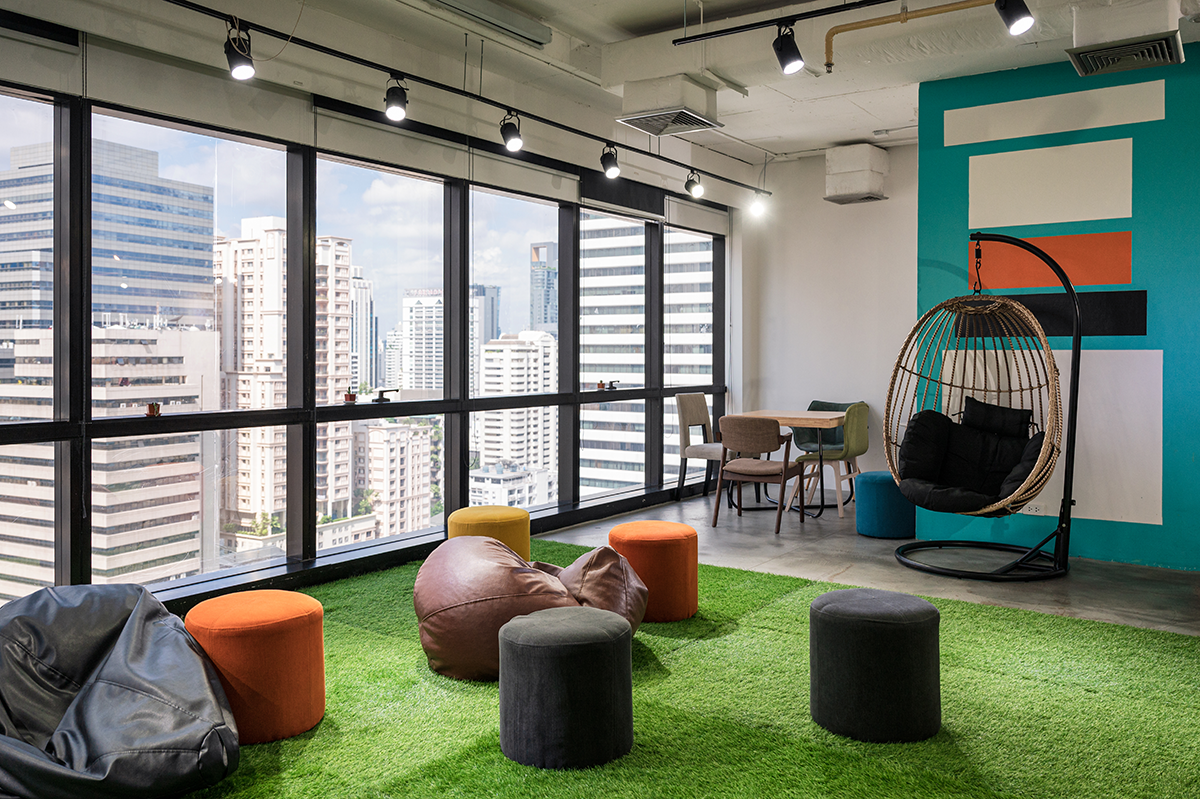
For indoor installations, focus on preparing the existing floor. Ensure the surface is clean, smooth, and level. If needed, use a self-leveling compound to address any uneven areas. Depending on the type of turf and its intended use, you might also add an underlayment for extra cushioning. Finally, decide whether to secure the turf with adhesive for a permanent installation or use heavy-duty tape for a temporary setup.
Laying the Turf
With the ground properly prepared, it’s time to lay the turf. Unroll the turf and position it over the area, leaving extra turf around the edges for trimming later. Align the turf carefully so that its grain—the direction in which the fibers point—is consistent across the entire area, ensuring a uniform appearance.
If your project involves multiple pieces of turf, you’ll need to seam them together at this stage. Place seam tape underneath the edges of the pieces, apply adhesive, and press the edges firmly together. This ensures there are no gaps between the pieces and that the seams are nearly invisible. Once the turf is in place, use stakes or pins to temporarily secure the edges, preventing the turf from shifting as you stretch it.

Stretching the Turf
Stretching the turf is the most critical part of the installation process, as it ensures a smooth, wrinkle-free surface that will last for years. Here’s a detailed breakdown of how to stretch turf effectively:
Positioning and Anchoring
Start by ensuring the turf is properly aligned with the installation area, making sure the grain is consistent across the entire surface. Begin by anchoring one side of the turf. This will usually be the side closest to a straight edge, such as a wall, fence, or the edge of a playing field. Use stakes or pins to temporarily secure this edge, ensuring that the turf is flat and wrinkle-free.
Using the Turf Kicker
Once one side is anchored, you can begin the stretching process using a turf kicker, a tool designed to pull the turf taut. Position the kicker about 6 inches from the anchored edge, with the teeth gripping the turf backing. Apply pressure with your knee to stretch the turf away from the anchored side.
Work in sections, stretching small areas at a time. After stretching a section, immediately secure it with stakes or pins to hold the tension in place. This methodical approach ensures that the turf remains uniformly stretched across the entire area.
Handling Wrinkles and Air Pockets
As you work, continuously check for any wrinkles or air pockets. If you find any, lift the turf slightly in that area and use the kicker to stretch it again before securing it. Be sure to apply even pressure with the kicker to avoid overstretching certain sections, which could cause uneven tension or even tear the turf.
Stretching Corners and Curves
Special attention is required for corners and curves, which can be tricky to stretch evenly. Begin by stretching the turf across the longest straight edges first, then move on to the corners. Pull the turf tightly into the corners, using the kicker to eliminate any slack. For curved areas, you may need to make small relief cuts in the turf backing to allow it to lay flat. Take your time with these adjustments to avoid any visible imperfections.
Final Stretch and Rolling
Once all sections are stretched and secured, go over the entire area with the kicker one last time, focusing on any spots that might need a little extra tension. Afterward, use a heavy roller to press the turf down evenly across the surface. This step is crucial for removing any remaining air pockets and ensuring that the turf adheres properly to the base. Rolling also helps the turf settle, creating a firm, even surface.

Final Touches
With the turf stretched and secured, the installation is almost complete. Now it’s time for a few final touches to ensure a polished finish:
- Trim the Edges: Use a utility knife to trim any excess turf around the edges, leaving a clean, neat line.
- Secure the Edges: Permanently secure the edges with stakes or turf nails, spacing them about 6 inches apart for a firm hold.
- Brush the Turf: Use a power broom or rake to brush the turf fibers, lifting them for a more natural appearance.
- Add Infill (if necessary): Depending on your turf type, you may need to add infill material. Spread it evenly and brush it in with the power broom to support the turf fibers and improve drainage.
- Water the Turf: Finally, give the turf a light watering. This helps it settle into the base and removes any dust or debris.
Bringing It All Together: Mastering Turf Installation
Stretching new turf is more than just a technical process—it’s a craft that, when done correctly, results in a flawless, long-lasting surface that enhances any space, from backyards to commercial facilities. By carefully following the steps outlined in this guide, you can achieve a smooth, wrinkle-free installation that not only looks professional but also stands up to the rigors of daily use.
Whether you’re outfitting a large sports field, a commercial gym, or a specialized facility like a dance studio or therapy clinic, the principles of turf stretching remain consistent: prepare a solid base, stretch the turf evenly, and secure it properly. These steps are crucial to ensuring that your turf installation is not only aesthetically pleasing but also durable and safe.
At ReTURF, we understand the importance of quality and precision in every project. That’s why we offer a wide selection of top-tier artificial turf designed to meet the diverse needs of our customers. Whether you’re a DIY enthusiast or managing a large-scale installation, ReTURF has the perfect solution for you.
Ready to transform your space with new turf? Explore our latest selection at ReTurf and find the perfect turf to suit your project. Visit us online today and start your journey to a pristine, professionally installed turf surface.


